How to Build a Meditation Bench: A Step-by-Step Guide
Building a meditation bench can be a great way to enhance your meditation practice.
Not only does it provide a comfortable and stable seat, but it can also help you to maintain proper posture and alignment.
If you’re interested in building your own meditation bench, there are a few key things you’ll need to keep in mind.

First and foremost, it’s important to understand what makes a meditation bench different from other types of seating.
Unlike a chair or cushion, a meditation bench is designed to elevate your hips and allow your legs to fold comfortably underneath you. This helps to create a stable base for your meditation practice, which can be especially helpful if you struggle with back pain or other discomfort while sitting.
With that in mind, let’s take a closer look at how to build a meditation bench of your own.
Key Takeaways
- Building a meditation bench can be a great way to enhance your practice and improve your posture.
- A good meditation bench should elevate your hips and allow your legs to fold comfortably underneath you.
- To build a meditation bench, you’ll need to gather the right tools and materials, construct the bench itself, and consider customising it to suit your needs.
Table of Contents
What’s So Special About Meditation Benches?
Benefits of Using a Meditation Bench
As someone who loves to meditate, I have found that using a meditation bench can be incredibly helpful for maintaining a comfortable and relaxed posture during my practice. Here are some of the benefits of using a meditation bench:
- Comfort: Sitting in a kneeling posture for extended periods of time can be hard on the knees and back. A meditation bench can provide extra support and cushioning, making it easier to sit for longer periods of time without discomfort.
- Posture: A meditation bench can help you maintain good posture by keeping your spine straight and your hips aligned. This can help prevent back pain and improve your overall posture.
- Pain Relief: If you have knee or back pain, using a meditation bench can help alleviate some of the discomfort associated with sitting in a kneeling posture for extended periods of time.
Types of Meditation Benches
There are several different types of meditation benches available, each with its own unique features and benefits. Here are some of the most popular types:
- Seiza Bench: The seiza bench is a traditional Japanese meditation bench that is designed to help you sit in the seiza position, which involves kneeling on the floor with your knees in front of you. Seiza benches are typically made of wood and have a curved seat that helps to support your back and hips.
- Rocking Bench: A rocking bench is a type of meditation bench that allows you to adjust the amount of lean the bench has at any given time. This can be helpful for maintaining a comfortable posture during your meditation practice.
- Chair Bench: A chair bench is a type of meditation bench that is designed to look like a chair. It provides extra support and cushioning, making it easier to sit for longer periods of time without discomfort.
Designing Your Meditation Bench

If you’re looking to build a meditation bench, there are a few things to consider before you start. In this section, I’ll cover the key factors to keep in mind when designing your own bench.
Choosing the Right Materials
The first thing to consider is the material you want to use for your bench. The most common material is wood, but you can also use other materials like metal or plastic.
When choosing your material, consider factors like durability, weight, and cost. Wood is a popular choice because it’s sturdy, lightweight, and relatively inexpensive. However, if you’re looking for a more durable option, metal might be a better choice.
Determining the Correct Dimensions
The dimensions of your bench will depend on your height and the style of meditation you practice.
The ideal height of your bench should allow you to sit comfortably with your feet flat on the ground and your knees slightly lower than your hips. To determine the correct height, measure the distance from the floor to the back of your knees and subtract a few inches.
The width of your bench should be wide enough to accommodate your hips and thighs comfortably.
Selecting a Bench Style
There are many different styles of meditation benches to choose from, including rocking benches, folding benches, and portable benches.
Rocking benches are designed to help you maintain a gentle rocking motion while you meditate, which can be soothing and calming.
Folding benches are great if you need to store your bench when you’re not using it.
Portable benches are lightweight and easy to transport, making them ideal if you want to meditate on the go.
When selecting a style, consider factors like comfort, portability, and stability.
If you’re looking for a bench that’s comfortable and ergonomic, consider a rocking or ergonomic bench. If you need a bench that’s easy to transport, choose a folding or portable bench.
In addition to the style of your bench, you may also want to consider adding a cushion or pillow for extra comfort. A cushion or padding can help reduce pressure on your knees and ankles, making it easier to sit for longer periods of time.
Gathering Tools and Materials

Building a meditation bench requires some essential tools and quality wood and supplies. In this section, I will discuss the tools and materials needed to complete the project.
Essential Tools for the Project
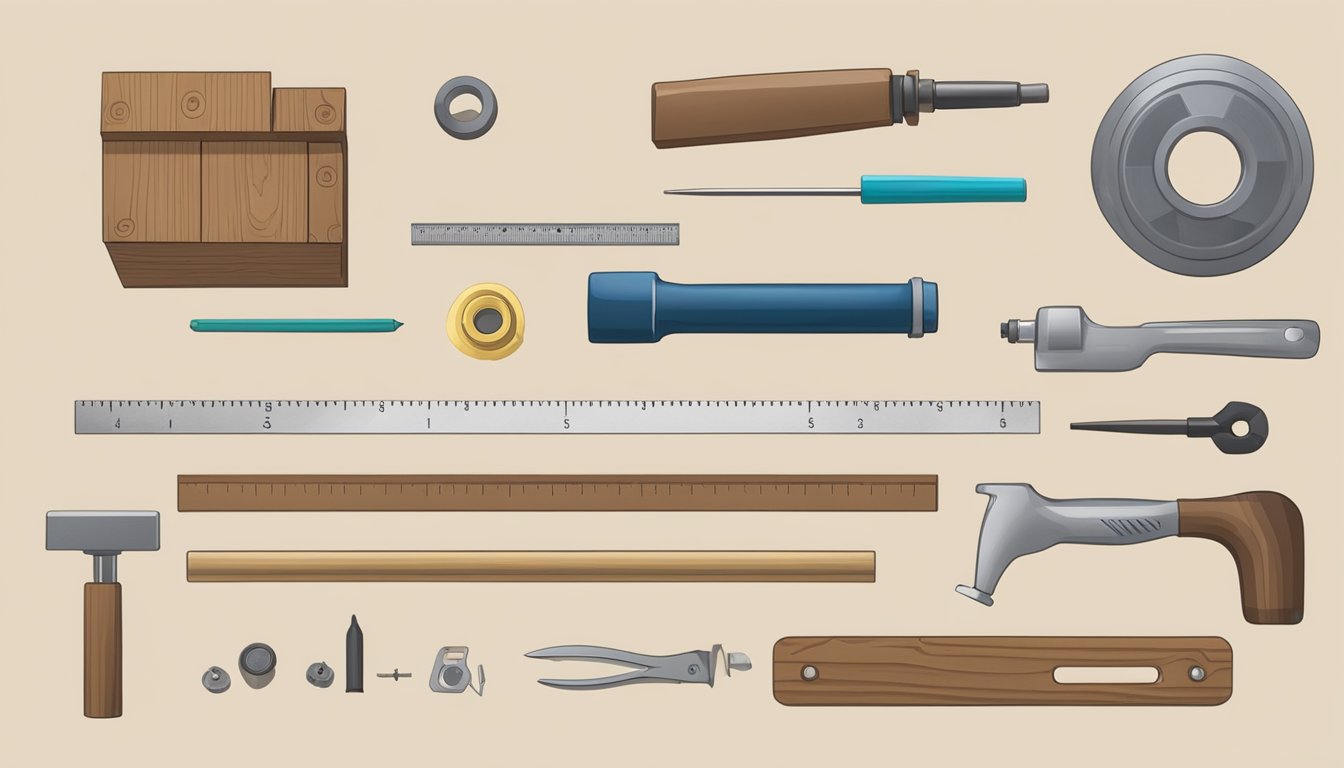
To build a meditation bench, you will need the following tools:
- Saw: A saw is essential for cutting the wood to size. A coping saw and a hacksaw are both good options.
- Sandpaper: Sandpaper is used to smooth the wood after it has been cut. You will need both medium and fine sandpaper.
- Sanding block: A sanding block helps to keep the sandpaper flat and makes it easier to sand the wood evenly.
- Plane: A plane is used to smooth the wood and remove any rough spots.
- Square: A square is used to ensure that the corners of the bench are square.
- Clamps: Clamps are used to hold the wood in place while it is being cut and glued.
- Glue: Wood glue is used to hold the bench together.
- Screwdriver: A screwdriver is used to attach the hinges and brackets to the bench.
- Wood stain: Wood stain is used to give the bench a finished look.
- Wood filler: Wood filler is used to fill any gaps or cracks in the wood.
Sourcing Quality Wood and Supplies
When building a meditation bench, it is important to use quality wood and supplies. Here are some tips for sourcing these materials:
- Wood: Look for a good quality pine board that is at least 1 inch thick. Avoid using softwoods like cedar or spruce, as they are too soft and will not hold up well over time.
- Screws: Use wood screws that are at least 1 inch long. Avoid using nails, as they do not hold up as well as screws.
- Hinges and brackets: Look for sturdy hinges and brackets that are made of metal. Avoid using plastic or flimsy hardware.
- Wood glue: Use a high-quality wood glue that will hold up over time. Look for a glue that is waterproof and dries clear.
- Wood stain: Choose a wood stain that is suitable for indoor use and matches the colour of your bench.
Constructing the Bench
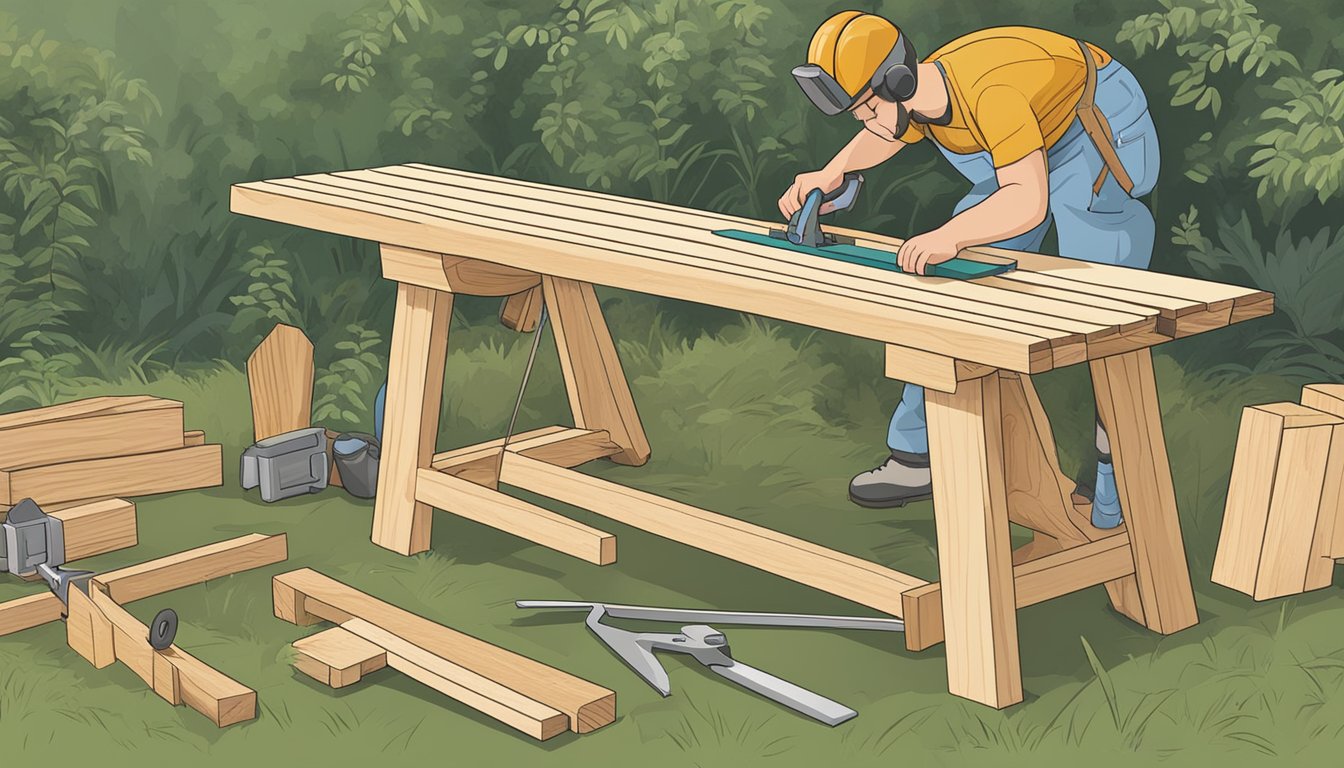
Building a meditation bench can be a fulfilling and rewarding experience. In this section, I will guide you through the process of constructing a meditation bench. We will cover everything from cutting and shaping the wood to adding the finishing touches.
Cutting and Shaping the Wood
The first step in building a meditation bench is to cut and shape the wood. I recommend using a pine board that is 1×6 inches.
Begin by marking the board with a pencil to indicate where you need to make your cuts. You can use paper to cut a leg pattern and trace it onto the board. Then, cut the two leg pieces and one bench piece using a coping saw. After cutting, sand the pieces to give them a smooth finish.
Next, use a router with a 3/4 inch bit to create a curve on the top of each leg piece. This will provide support for your knees when sitting in a kneeling position. You can also use a plane to shape the edges of the bench piece.
Assembling the Bench Frame
Once you have cut and shaped the wood, it is time to assemble the bench frame.
Begin by attaching the legs to the bench piece using wood glue and clamps. You can use a square to ensure that the legs are attached at a 90-degree angle. After gluing, allow the bench to dry for a few hours.
Next, add support to the bench frame by attaching a crossbar between the legs. This will provide additional stability and support when sitting on the bench. You can use a jig to ensure that the crossbar is attached at the correct height.
Adding the Finishing Touches
After assembling the bench frame, it is time to add the finishing touches.
Begin by sanding the entire bench to remove any rough spots or imperfections. Then, apply a stain of your choice to give the bench a beautiful finish.
You can also add a clear polyurethane coat to protect the bench from wear and tear.
Customising Your Bench

When building a meditation bench, customisation is an important aspect to consider. Here are some ways to customise your bench to make it more comfortable and personalised to your needs.
Selecting Cushions and Pillows
Adding cushions and pillows to your meditation bench can make it much more comfortable to sit on for extended periods of time.
There are a variety of cushions and pillows available, so it is important to select ones that are comfortable and supportive for you. Consider the thickness and firmness of the cushion, as well as the material it is made from. Some popular materials include cotton, wool, and buckwheat hulls.
Applying Stains and Finishes
Staining and finishing your meditation bench is a great way to personalise it and protect the wood from wear and tear.
When selecting a wood stain, consider the colour and type of wood you are using. A darker stain can give a more traditional look, while a lighter stain can give a more modern feel.
Finishing your bench with a clear coat can protect it from scratches and stains.
Personalising with Decorative Elements
Adding decorative elements to your meditation bench can make it unique and personalised. You could add a carving or engraving to the bench, or even paint it with a design that is meaningful to you.
Be creative and think outside the box when it comes to personalising your bench.
Frequently Asked Questions

What dimensions are recommended for a comfortable meditation stool?
The recommended height for a comfortable meditation stool is around 5-6 inches. The length and width of the seat should be around 18-20 inches and 10-12 inches, respectively.
However, it’s important to keep in mind that these dimensions may vary depending on your height and preference.
At what incline should the seat of a meditation stool be set for optimal posture?
The seat of a meditation stool should be set at a slight incline of around 5-10 degrees. This helps to maintain a comfortable and stable posture during meditation.
Is investing in a meditation stool beneficial for my practice?
Investing in a meditation stool can be beneficial for your practice as it helps to improve your posture and comfort during meditation.
It also helps to reduce strain on your back and knees, allowing you to meditate for longer periods of time.
What is the traditional name for a meditation stool?
The traditional name for a meditation stool is “seiza bench”. The word “seiza” means “proper sitting” in Japanese, and the bench is designed to help you achieve a proper sitting posture during meditation.
How can I create my own meditation stool at home?
You can create your own meditation stool at home by following a few simple steps. First, cut the legs and seat of the stool to the desired dimensions.
Then, sand and finish the pieces before assembling them together using wood glue and clamps. Finally, add any additional padding or cushioning to the seat for added comfort.
What materials are best suited for crafting a durable meditation stool?
The best materials for crafting a durable meditation stool are hardwoods such as maple, oak, or cherry.
These woods are strong and sturdy, making them ideal for supporting your weight during meditation.
However, other materials such as bamboo or pine can also be used if treated and finished properly.


