
How to Set Up a Reiki Treatment Room: A Complete Guide
What type of room do you have? Find your setup below — plus the practical guide to everything else.
I get asked about this more than almost anything else: how do you actually set up a room for Reiki? My first “treatment room” was a corner of my living room with a folded table I dragged out before every session. It worked — clients never complained — but it took me a while to figure out which details actually mattered and which ones I was overthinking.
Here’s everything I’d tell a friend setting up their first room, from the one decision that matters most down to the small stuff nobody mentions until you’ve been doing this a year.


What Type of Room Are You Working With?
Before the detailed breakdown below, it’s worth being honest about which constraint actually applies to you — because the right setup looks genuinely different depending on the room. Pick the one that sounds most like yours.

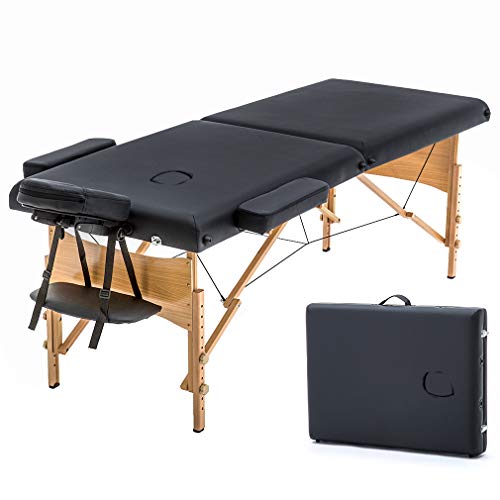


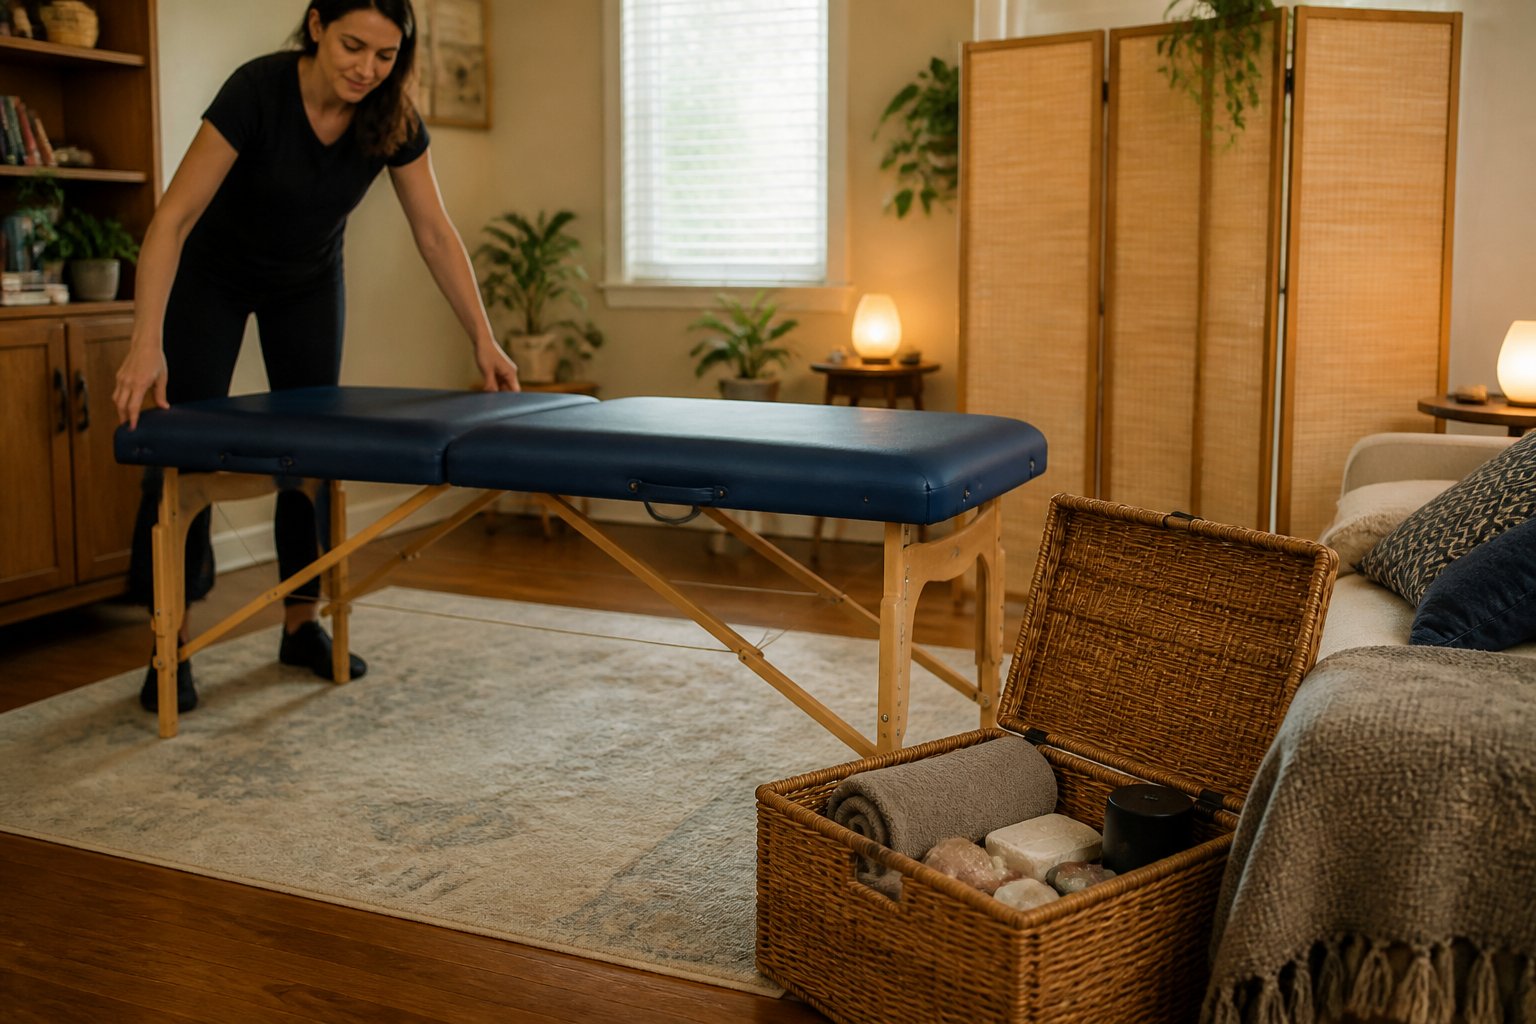

1. The Treatment Table — Your Most Important Decision
Everything else in this room works around the table. Get it right and honestly, the rest falls into place on its own — get it wrong and you’ll feel it every single session.
The one non-negotiable for Reiki is end panels. You want the version where the leg brace sits up near the top of the legs rather than down at knee height, because that’s what gives you proper access when you’re seated at the head or foot of the table — which, if you’re anything like me, is where you’ll spend a good chunk of every session. A standard massage table puts that brace exactly where your knees want to go. I learned this the slightly painful way before I knew better. If you want the full breakdown of why this matters, I’ve written about it here: Reiki Table vs Massage Table.
If your table is staying put in a dedicated room, weight stops mattering and comfort takes over. This is where I’d put my money into padding rather than portability. My honest go-to recommendation is the Saloniture Professional with Reiki panels below — it’s the one I tell most people to start with. If you want to buy once and never think about it again, the Earthlite Harmony DX is worth the extra spend. I’ve gone into more detail in Best Reiki Table for Home Use.
If you’re travelling to clients, the calculation flips — weight and pack-down size matter more than anything. The Earthlite Avalon with Reiki panels is what most mobile practitioners I know end up with. I’ve covered the full lineup in Best Portable Reiki Table for Mobile Practitioners.
2. Essential Table Accessories
Once the table’s sorted, there are four things I won’t run a session without:
- Waterproof table cover — sits under your sheets and protects the table itself. Non-negotiable, whichever table you end up with.
- Fitted microfibre sheets — feel more professional than standard bedding and dry quickly between clients. I keep three sets on rotation so I’m never caught out on laundry day.
- A memory foam topper — this is the one I’d add first if I were starting again. Sessions run 60–90 minutes and clients notice the difference in the first five.
- A height-adjustable stool — if you do seated work, your back will thank you for this within the first month.
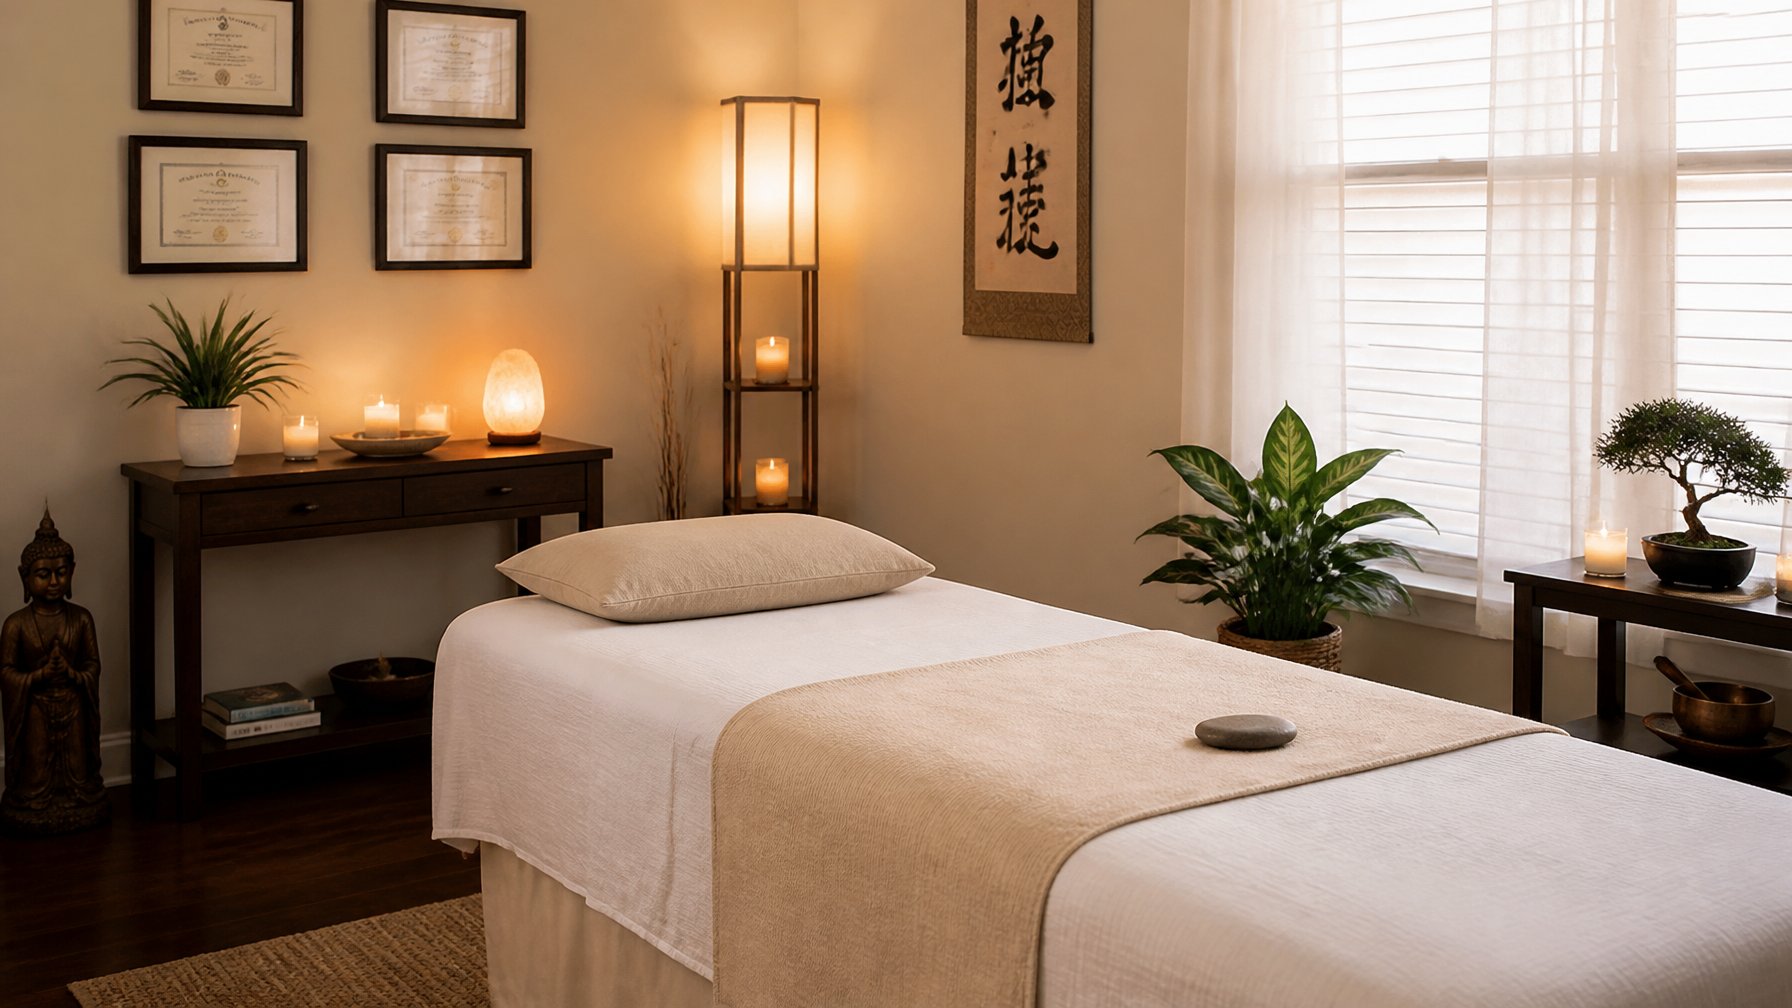
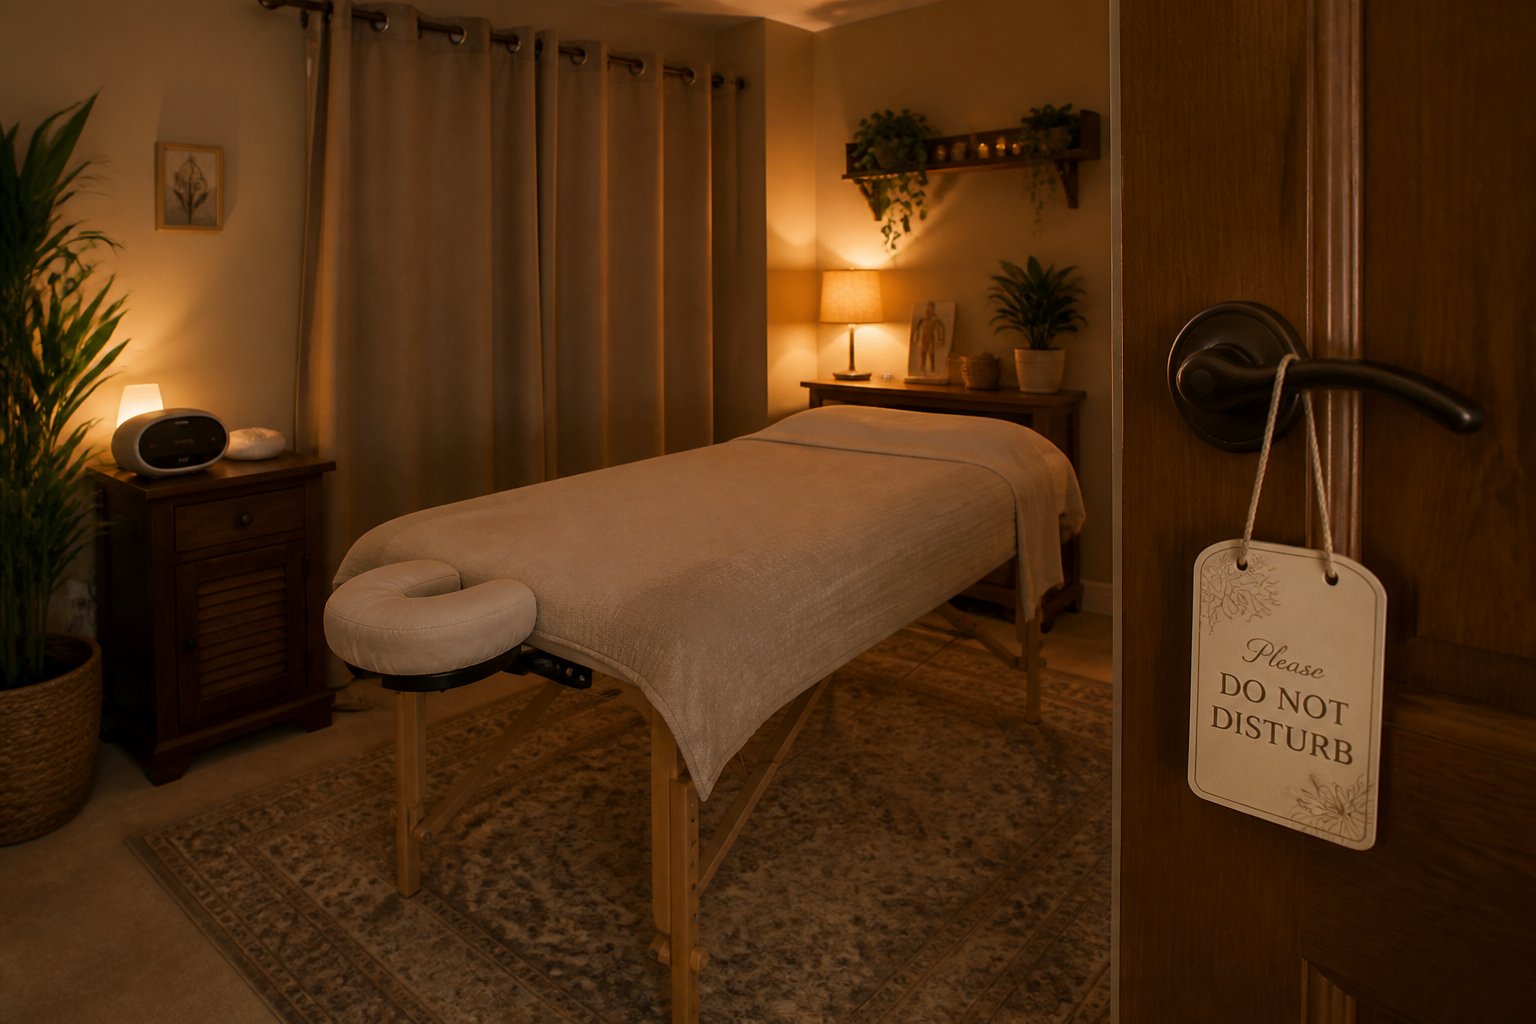
3. Lighting
This one surprised me. Lighting changes how a room feels more than almost anything else on this list. Overhead fluorescents or bright white bulbs are the enemy here — they tell a client’s body to stay alert, not to relax, no matter how good everything else is.
I’d build the whole room around warm, dimmable light rather than one big ceiling fixture. Salt lamps are an easy win — soft, warm, and you can dot a couple around the room without much thought. A floor lamp with a dimmer gives you control depending on the time of day. Fairy lights or an LED strip tucked behind a shelf adds warmth without feeling like a teenager’s bedroom.
One rule I never break: nothing shines directly at the table. A client lying face-up should never find themselves squinting into a light source mid-session.
4. Sound
Sound does two jobs at once — it helps clients settle, and it covers up the dog barking next door or your neighbour’s lawnmower. There are really three approaches and I’ve tried all of them.
Nature sounds or ambient music are the easiest starting point — rain, waves, that sort of thing. Any streaming platform has hours of it. This is what I’d suggest if you’re just starting out and don’t want to overthink it.
Singing bowl recordings tend to resonate with clients in a way that feels appropriate to the work itself. If you already use bowls in your practice, even better.
Binaural beats are the trickiest of the three because they only do their job through headphones, which not every client wants to wear lying down.
Whatever you choose, keep it low — quiet enough that you could speak to a client in a normal voice without raising it over the music.
5. Scent
Scent is the quickest signal to a client that they’ve left their normal day behind and stepped into your space. Keep it subtle though — strong fragrance can backfire, especially with sensitive clients.
My own routine is simple: a good candle burning for twenty minutes before a client arrives, then out before they walk in. A reed diffuser works just as well if you’d rather not think about it at all. Sandalwood, frankincense, and lavender all feel right for this kind of work without being overpowering.
One thing I’d steer you away from — sprays and air fresheners. They read as synthetic the second you walk in, and they’re a common headache trigger.
6. Temperature and Comfort
This is the detail nobody warns you about. Clients lying still get cold faster than you’d think, even in a room that feels perfectly warm to you. A lightweight blanket on hand for every session is such a small thing, but it’s one of the most-mentioned comforts clients bring up afterwards.
Run the room a touch warmer than feels right to you personally. You’re moving around during the session — they’re not. What feels comfortable to you while you’re up and working is usually a little cool for someone lying flat for an hour.
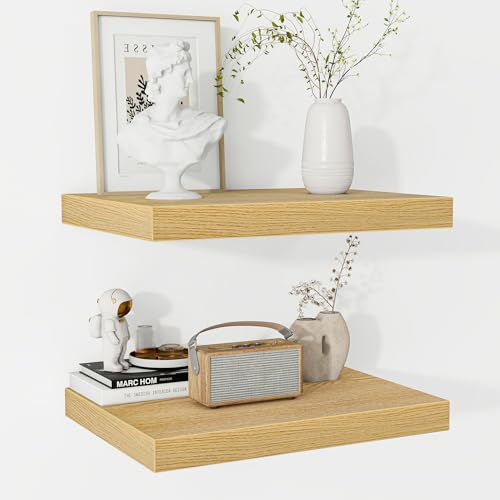
7. Crystals and Intentional Objects
Many Reiki practitioners incorporate crystals into their treatment room — either placed around the space, on the table, or used during sessions. How much you include is entirely personal. Some practitioners have a minimal, clinical feel to their space; others create a richer sensory environment.
If you use crystals, placing Black Tourmaline or Obsidian at the corners of the room is a common practice for energetic protection. Amethyst is widely used for calm and clarity. Clear Quartz amplifies energy. Keep placements intentional rather than cluttered — a few well-chosen pieces are more effective than many.
A few more I’d genuinely recommend having on hand, beyond the obvious ones: Labradorite for a sense of protection during the session, which some clients find reassuring if they’re nervous about energy work. Smoky Quartz for grounding — it pairs well near the foot of the table, opposite the lighter, calming stones near the head. Aventurine if you want something associated with emotional balance rather than purely physical calm. And Citrine if your room could use a bit of warmth and positivity, particularly in a space that doesn’t get much natural light.
8. Practical Considerations
Privacy: Clients need to feel they won’t be overheard or interrupted. A sign on the door, a white noise machine in the corridor, or simply a clear communication with household members about session times all help.
Storage: Keep the space uncluttered. Any accessories, oils, or equipment that aren’t in active use should be stored out of sight. A clean, minimal environment is more calming than a busy one.
Ventilation: Fresh air matters. A room that smells stale or is poorly ventilated undermines everything else you’ve done. Air the room out between sessions.
A chair for clients: Have somewhere for clients to sit when they arrive and when you debrief after the session. Standing while a practitioner talks at them is not conducive to the post-session state you’re trying to maintain.
Clear the room between clients, not just at the start of the day. I smudge with a small amount of sage between sessions, or run a sound clearing with a single pass of the singing bowl around the room. It takes thirty seconds and it matters more than people expect — a room that’s absorbed one client’s stress shouldn’t carry that into the next session. If smoke isn’t practical in your space, even opening a window for a minute between clients does something.
Think about accessibility properly, not as an afterthought. If your room is upstairs, or your front door has a step, say so clearly when booking so clients can plan ahead rather than arriving and finding out. A treatment room that’s genuinely hard to get to will quietly lose you clients who never tell you why they didn’t rebook.
Want More Inspiration?
If the picks above worked for you, here’s where to go for more options on each.

Frequently Asked Questions
How much space do I need for a Reiki treatment room? A standard portable treatment table is about 6 feet long and 2.5 feet wide. You need approximately 3 feet of clearance on each long side for comfortable practitioner access, plus space at each end. A minimum room size of roughly 10 x 10 feet works, though 12 x 10 is more comfortable.
Do I need a dedicated room? No — many home practitioners use a bedroom or living room that doubles as a treatment space. The key is being able to clear the space quickly and transform it into something that feels intentional and separate from everyday life.
What’s the most important thing to get right? The table and the lighting. Everything else builds around them. A good Reiki table in a warmly lit space with a clean waterproof cover and professional fitted sheets will feel more professional than an expensive setup with poor lighting.
See also: Best Reiki Table for Home Use | Reiki Table Accessories | Reiki Table vs Massage Table
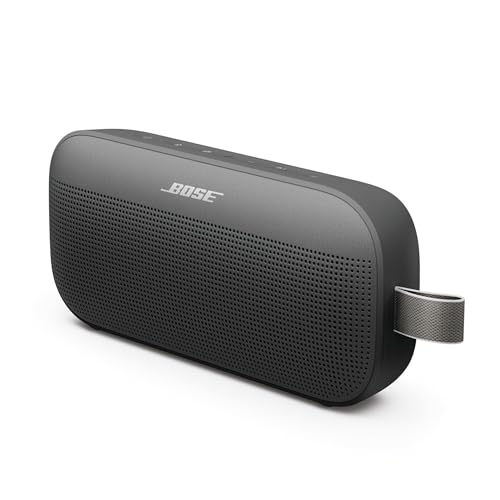
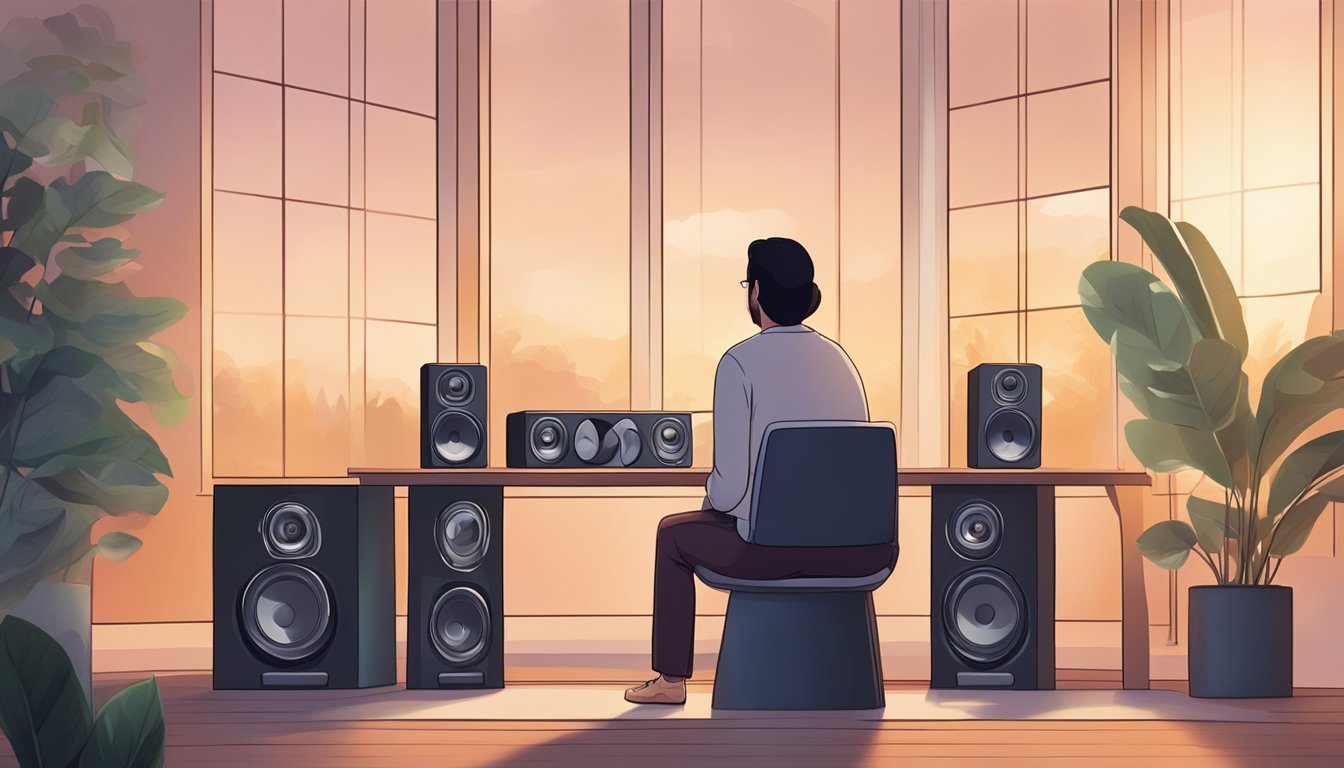
Audio is a key part of a treatment room setup — we’ve reviewed the best speakers for meditation and Reiki sessions if you’re deciding what to use.
Author Profile
-
Lily spent the first fifteen years of her career as a lawyer — contracts, arguments, precedent, and not much time for anything you'd call "energy work." A stress-related injury in her late 30s sent her to a massage therapist, and something about the work stuck.
She trained as a massage therapist herself, then kept going: Reiki certification, and a slow pull into the wider world of energy-based and spiritual practice she'd probably have cross-examined a witness for mentioning a decade earlier.
Now in her 50s, Lily runs RestoreQi the way she wishes a site like it had existed when she started out — written by someone who's actually done the training and tested the products, not just repackaged what everyone else says. She's still a practicing massage therapist and Reiki practitioner, and she brings the same habit from her legal career to everything she writes here: check the evidence, and don't take a claim at face value just because it sounds ancient.
Latest entries
 Singing BowlsJune 27, 2026Best Crystal Singing Bowls (2026): Top Picks for Every Budget
- Massage TablesMay 31, 2026Best Massage Table Face Cradle (2026): Comfort, Compatibility and the Sinus Problem Nobody Fixes
- Massage TablesMay 31, 2026Best Massage Table Sheets (2026): Material, Oil Resistance and How Many Sets You Actually Need
- Massage TablesMay 31, 2026Best Massage Table Warmer (2026): The Honest Comparison Professionals Need