Mala Bracelet DIY: Create Your Own Serenity Beads
Mala beads have held a significant place in various spiritual traditions. They are often used as tools for meditation and prayer. Traditionally, a mala, which means “garland” in Sanskrit, is a string of beads used to count mantras or breaths during meditation.
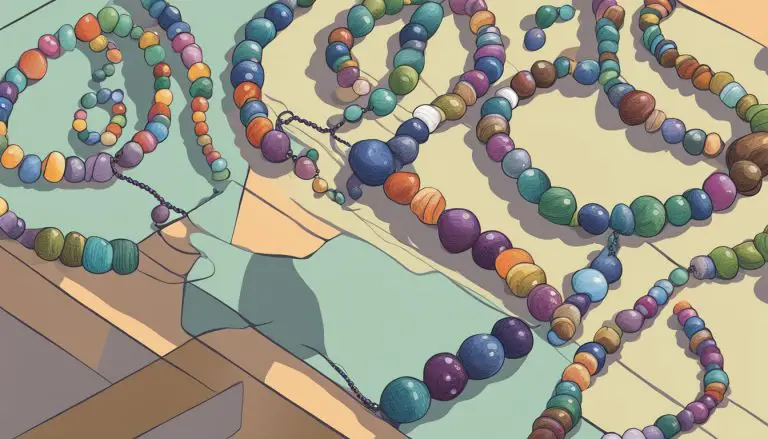
Making your own mala bracelet is a meaningful and creative process. It yields a beautiful piece of jewelry and invites a personal connection to your meditation practice.
It’s a soothing DIY project that allows for customization and personalization. Creating a piece that’s as unique as your intentions.

Crafting a mala bracelet involves selecting beads that resonate with you. These might include gemstones that correlate with specific healing properties or energies.
As you thread each bead, setting intentions or personal mantras can imbue your mala with a special significance. This transforms it into more than just an accessory.
This tangible representation of your spiritual quest or emotional journey can serve as a constant reminder and guide. In making your mala, you engage not only in a creative endeavor but also partake in an intimate act of self-reflection and mindfulness.
Key Points
- Making a mala bracelet is an engaging process that combines creativity with spirituality.
- Choosing beads for your mala is a personal journey, reflecting individual intentions and energies.
- A handmade mala carries personal significance, acting as a wearable reminder of intentions.
What are Mala Beads All About
In making a Mala bracelet, it’s fascinating to note that each aspect from the number of beads to the materials used carries specific significance. This enriches both the crafting process and the spiritual practice.
Significance of 108 Beads
The number 108 holds profound spiritual significance across various cultures and disciplines.
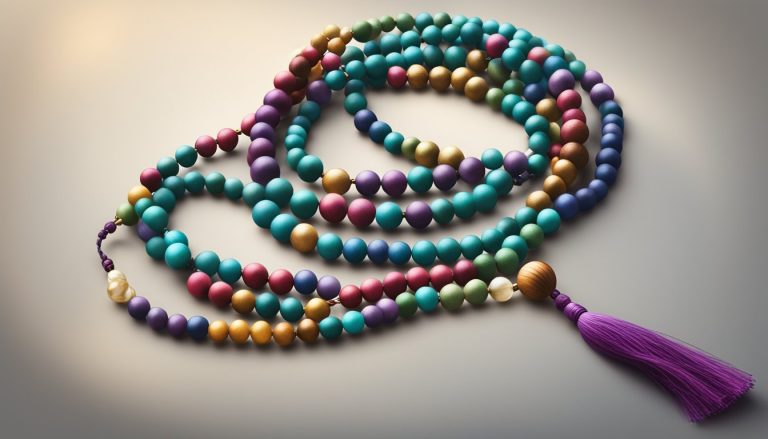
When you create a Mala bracelet, you string together 108 beads along with one larger guru bead.
This guru bead represents the culmination of the spiritual journey, the point of return, much like the heart chakra at the center of our spiritual self. Typically, the circuit of 108 beads provides a path for meditation or prayer, guiding the user through a complete cycle of mantra or intention.
- Guru Bead: Larger, distinct bead as the starting and ending point
- 108 Beads: Represents a complete cycle of meditation
- Heart Chakra: Related to the guru bead as a central point of spiritual energy
Types of Beads and their Meanings
When selecting beads for my Mala, I often choose based on the energy or attributes they may represent. Beads can be made of gemstones, wood, or other materials, each adding a layer of meaning and intention.
Gemstones:
- Rose Quartz: Love and heart chakra healing
- Amethyst: Intuition and spiritual growth
- Lapis Lazuli: Wisdom and truth
Wood Beads:
- Sandalwood: Calming, meditative scent and connection to the earth
- Bodhi Seed: Enlightenment and understanding
-
Spacer Bead: Set apart from the main beads, it’s a pause or breath in the rhythm of meditation or prayer. They are often a different shape or texture to signal a count milestone or reflection point within the cycle.
By integrating beads that resonate with my intentions, I find the Mala I create to be more than just a piece of jewelry; it transforms into a personal talisman imbued with meaning.
Materials and Supplies
When I set out to create my own Mala bracelet, I consider the materials and supplies crucial for the piece’s durability and aesthetic.
It’s important to choose a cord that will hold its strength over time and beads that resonate with my personal style or the intended purpose of the Mala.
Selecting the Right Cord
For my Mala bracelets, the cord is the backbone, which is why I opt for a sturdy material.
I often use nylon thread because of its strength and flexibility. Nylon thread is also easy to knot and doesn’t fray as quickly.
Another alternative is hemp cord; it’s eco-friendly and gives the bracelet a rustic look. To secure the knots and ensure longevity, I apply a small amount of fabric cement—just a dab at the end of the knots to prevent them from coming undone.
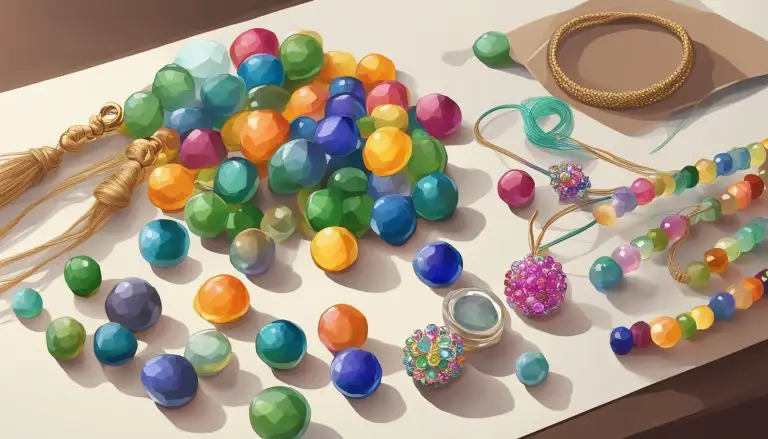
Choosing Beads and Spacers
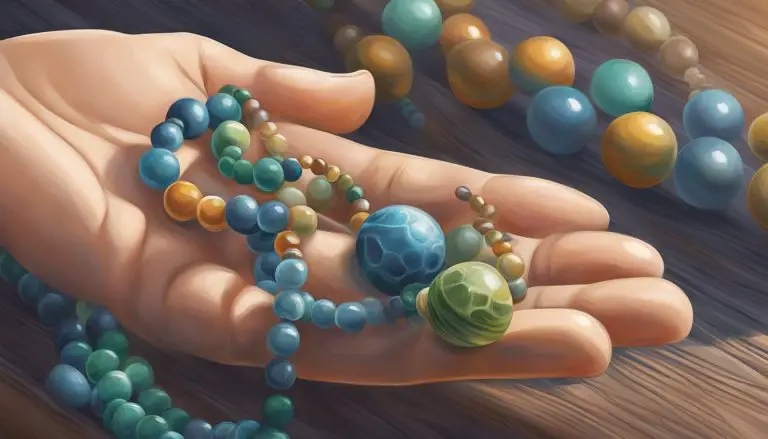
The beads are the soul of the Mala, and I take great care in selecting them.
Usually, I look for high-quality beads that could be made of gemstones, wood, or seeds. The size typically ranges from 6mm to 8mm, which is ideal for prayer or meditation.
I also use spacer beads, which are smaller than the main beads, to add accents or to frame a guru bead.
These can be simple metal rings or more decorative elements that complement the primary beads. For a personalized touch, I might add a tassel at the end of the Mala, which can be made from silk or rayon, depending on the look I’m aiming for.
Here’s a brief outline of the supplies I gather before I begin crafting my Mala bracelet:
- Cord: Nylon thread or hemp cord
- Beads: Gemstone, wood, or seed beads (6mm to 8mm in size)
- Spacer Beads: Metal or decorative rings
- Tassel: Silk or rayon for the finishing touch
- Supplies: Fabric cement for securing knots
By carefully selecting each element, I ensure my Mala bracelet is both beautiful and built to last.
Creating Your Mala
In this section, I’m going to show you the simple steps to make your own Mala bracelet. We’ll cover everything from choosing your beads to tying the final knot.
Preparing Your Materials
To start, you’ll need to gather your materials. Mala bracelets typically consist of 108 beads and one larger ‘guru’ bead. You can use gemstones, seeds, or wood depending on your preference. Here’s what you’ll need:
- 108 beads (6mm or 8mm are common sizes)
- 1 guru bead (slightly larger than the other beads)
- 1 tassel
- Nylon thread or silk cord (with a thickness that comfortably fits through your beads)
- Scissors
- Needle (optional, for threading beads and making knots)
Make sure your beads are all laid out and your cord or thread is cut to a length of around 100 inches to allow enough space for knotting.
Knotting Techniques
A key part of making your Mala bracelet is tying knots between your beads. This not only gives your Mala a traditional look but also adds to its strength and durability. Here’s a brief on how to do it:
- Start with a knot: Tie an overhand knot close to the end of your cord.
- Adding beads: Slide on a bead up to the knot, then tie another knot right against the bead.
- Repeat: Continue adding beads and tying knots until all 108 beads are on the cord.
Remember, patience is key here – it takes time to perfect your knotting technique.
Adding the Guru Bead and Tassel
Finally, let’s add the finishing touches to your wrist Mala:
- Guru Bead: After all 108 beads are on the string and securely knotted, slide on the guru bead. You’ll want to tie a knot on top of the guru bead as well.
- Tassel: Pass the remaining cord through the loop of the tassel, then back through the guru bead to secure it in place.
- Final Knot: Tie a final, secure knot to ensure that the tassel and the guru bead are firmly attached. Trim any excess cord, and your Mala bracelet is ready!
Setting Intentions and Mantras
When I create my own Mala bracelet, choosing mantras and setting intentions are foundational steps that transform it from a simple piece of jewelry into a personal meditative tool.
Choosing Mantras for Meditation
As I select a mantra for my meditation practice, I focus on a Sanskrit phrase or a word that resonates with my spiritual goals. The mantra can be a sound, like “Om,” which is believed to contain the entire universe within it.
Or it can be a phrase that reflects personal affirmations or attributes I wish to cultivate. When chanting during japa meditation, the repetition of these mantras helps me focus my mind and promote a sense of peace and clarity.
Examples of mantras include:
- Om Mani Padme Hum: To cultivate compassion.
- So Hum: Emphasizing the affirmation “I am.”
- Lokah Samastah Sukhino Bhavantu: Wishing all beings happiness and freedom.
Infusing Your Mala with Intentions
Setting an intention for my Mala bracelet involves infusing the beads with a specific purpose that guides my meditation practice.
During the crafting process, I focus on my intention with each bead I string. I consider it a physical representation of the thought or goal I wish to manifest.
This practice helps align my personal energy with the stones and the Mala as a whole. It enhances its significance and effectiveness in my meditation.
- To infuse intentions, I:
- Hold each bead as I string it, and silently voice my intention.
- Imagine that my intention shines as a light encapsulated within each bead.
While creating and using my Mala bracelet, I keep in mind that my mantras and intentions are private affirmations that support my meditation journey.
Their significance is deeply personal, shaping the uniqueness of the Mala and its role in my practice of mindfulness.
Using Your Mala
After I crafted my mala, I discovered that its uses extend beyond its beauty. It’s a multifaceted tool that can complement both my style and spiritual practice.
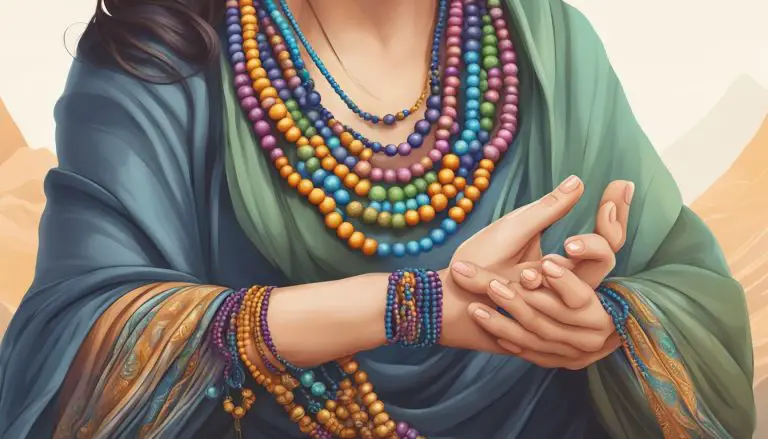
Wearing as Jewelry
I love wearing my mala necklace as a piece of jewelry. It acts as a statement piece that adds a touch of thoughtfulness to my outfits.
When I drape it around my neck, its presence serves as a continual reminder to stay mindful throughout my day.
It’s fascinating how a simple necklace can encapsulate both elegance and intention.
Incorporating into Meditation Practice
Using my mala during meditation practice enriches the experience profoundly.
As I settle into my session, I hold my mala necklace in one hand and gently touch each bead with my fingers.
This tactile action helps me maintain focus as I count mantras.
- Each mala typically contains 108 beads.
- I recite a mantra silently with each bead, completing a full cycle.
This practice aids in anchoring me to the present, creating a deeper connection within my yoga or meditation sessions.
It’s a practice that has become essential to my journey towards mindfulness.
Frequently Asked Questions
Creating a mala bracelet is a calming and creative practice that brings both an aesthetic joy and a sense of spiritual calm.
I’ll cover some specific questions you might have as you embark on crafting your own mala.
How can I create my own mala bracelet without using traditional beads?
I focus on making sure the materials feel good in my hands and are durable enough for regular handling.
What are the steps to crafting a simple mala bracelet at home?
I string the beads, placing spacer beads for counting if desired, before adding the guru bead and creating a tassel at the end.
Simple knots between the beads help maintain spacing and add durability.
What is the significance of having 21 beads on a mala bracelet?
Each bead represents a breath or a mantra repetition, helping me stay focused and present during the practice.
Can you provide some tips for making a mala bracelet suitable for men?
The bracelet should be proportionate in size and comfortable to wear, with simple design elements.
What is the proper way to tie a knot when making a mala bracelet?
This prevents the beads from moving and the mala from stretching out over time.
How do I properly activate and use my newly made mala bracelet?
It’s important for me to meditate with my mala. I can also simply wear it to infuse it with personal meaning before using it regularly for meditation.